
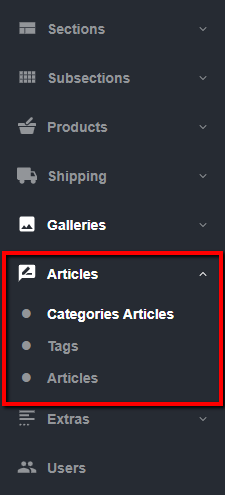
With JuiceBox Content Managing System, managing your website blog is easier than ever. Your blog articles have a tab of their own in the JuiceBox navigation menu on the left, typically named “Articles”.
 Categories
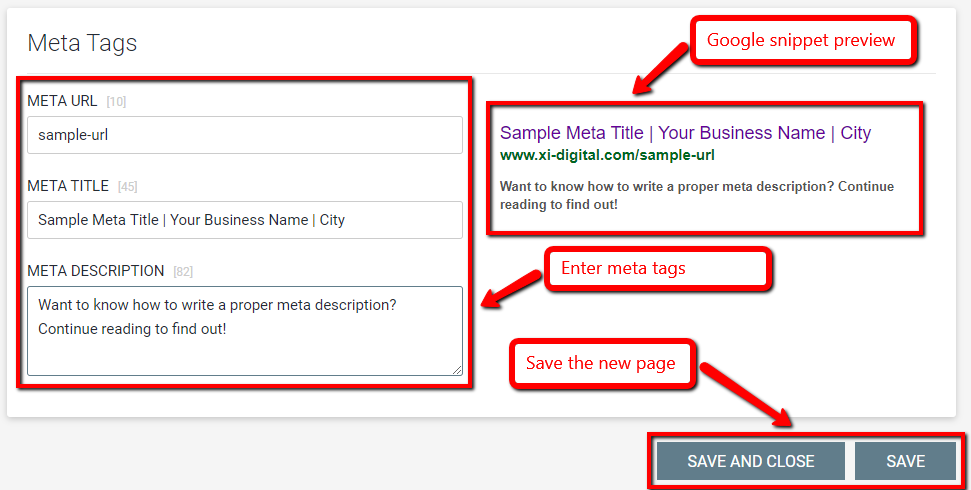
Once you click on “Categories”, the list of the blog categories will appear on the right. You can add a new category by clicking on the “Add New” button at the top of the list. Enter the category name, meta URL, meta title, and meta description.
In order to delete a category, simply select it and click on “Delete Selected” button at the top.
You can also easily update the existing categories: click on the “Details” button to the right of the category name. Now, you can change the category name, meta URL, meta title, and meta description.
Click on the “Tags” subtab, and the full list of the blog articles and corresponding tabs will appear on the right. If you wish to delete any, select the tag, and click on the “Delete Selected” button at the top.
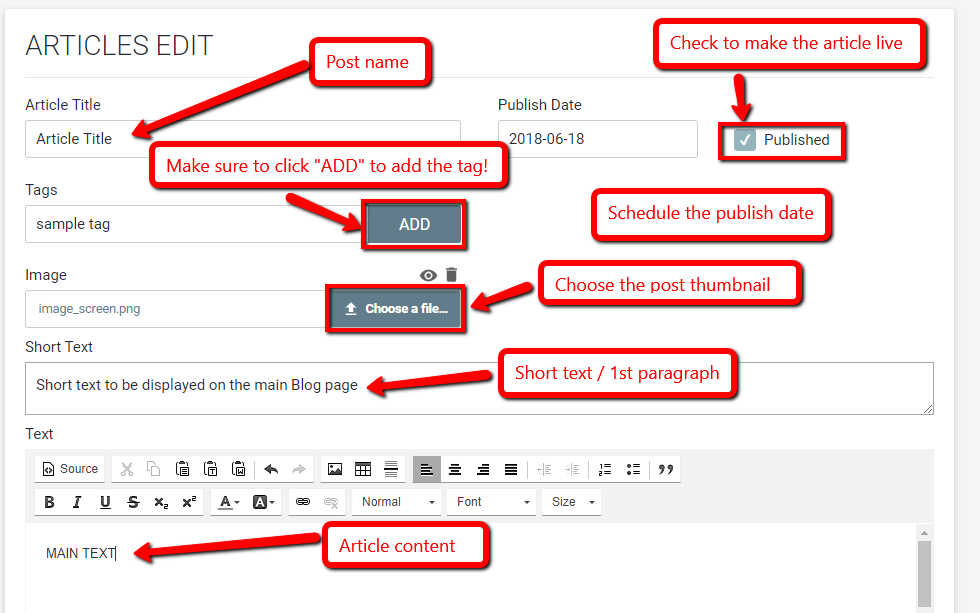
Navigate to the “Articles” subtab to view the full list of blog articles on the right. Here, you can add, delete, or update your blog posts.
All of the orders made through your e-commerce website can be easily managed with the JuiceBox CMS. Find out how to sort the order list, change the order status, and more.
Learn how to manage product categories, update product info & keep track of product inventory with JuiceBox CMS.
Learn how to view & manage the list of your business subscriber names & email addresses - with JuiceBox, it's easier than ever!
Be creative with sliders & banners on your website! Learn how to add slides, change background images, and customize the slide text.
Fill Out The Form
To Contact Us Now
Please, enter a valid value